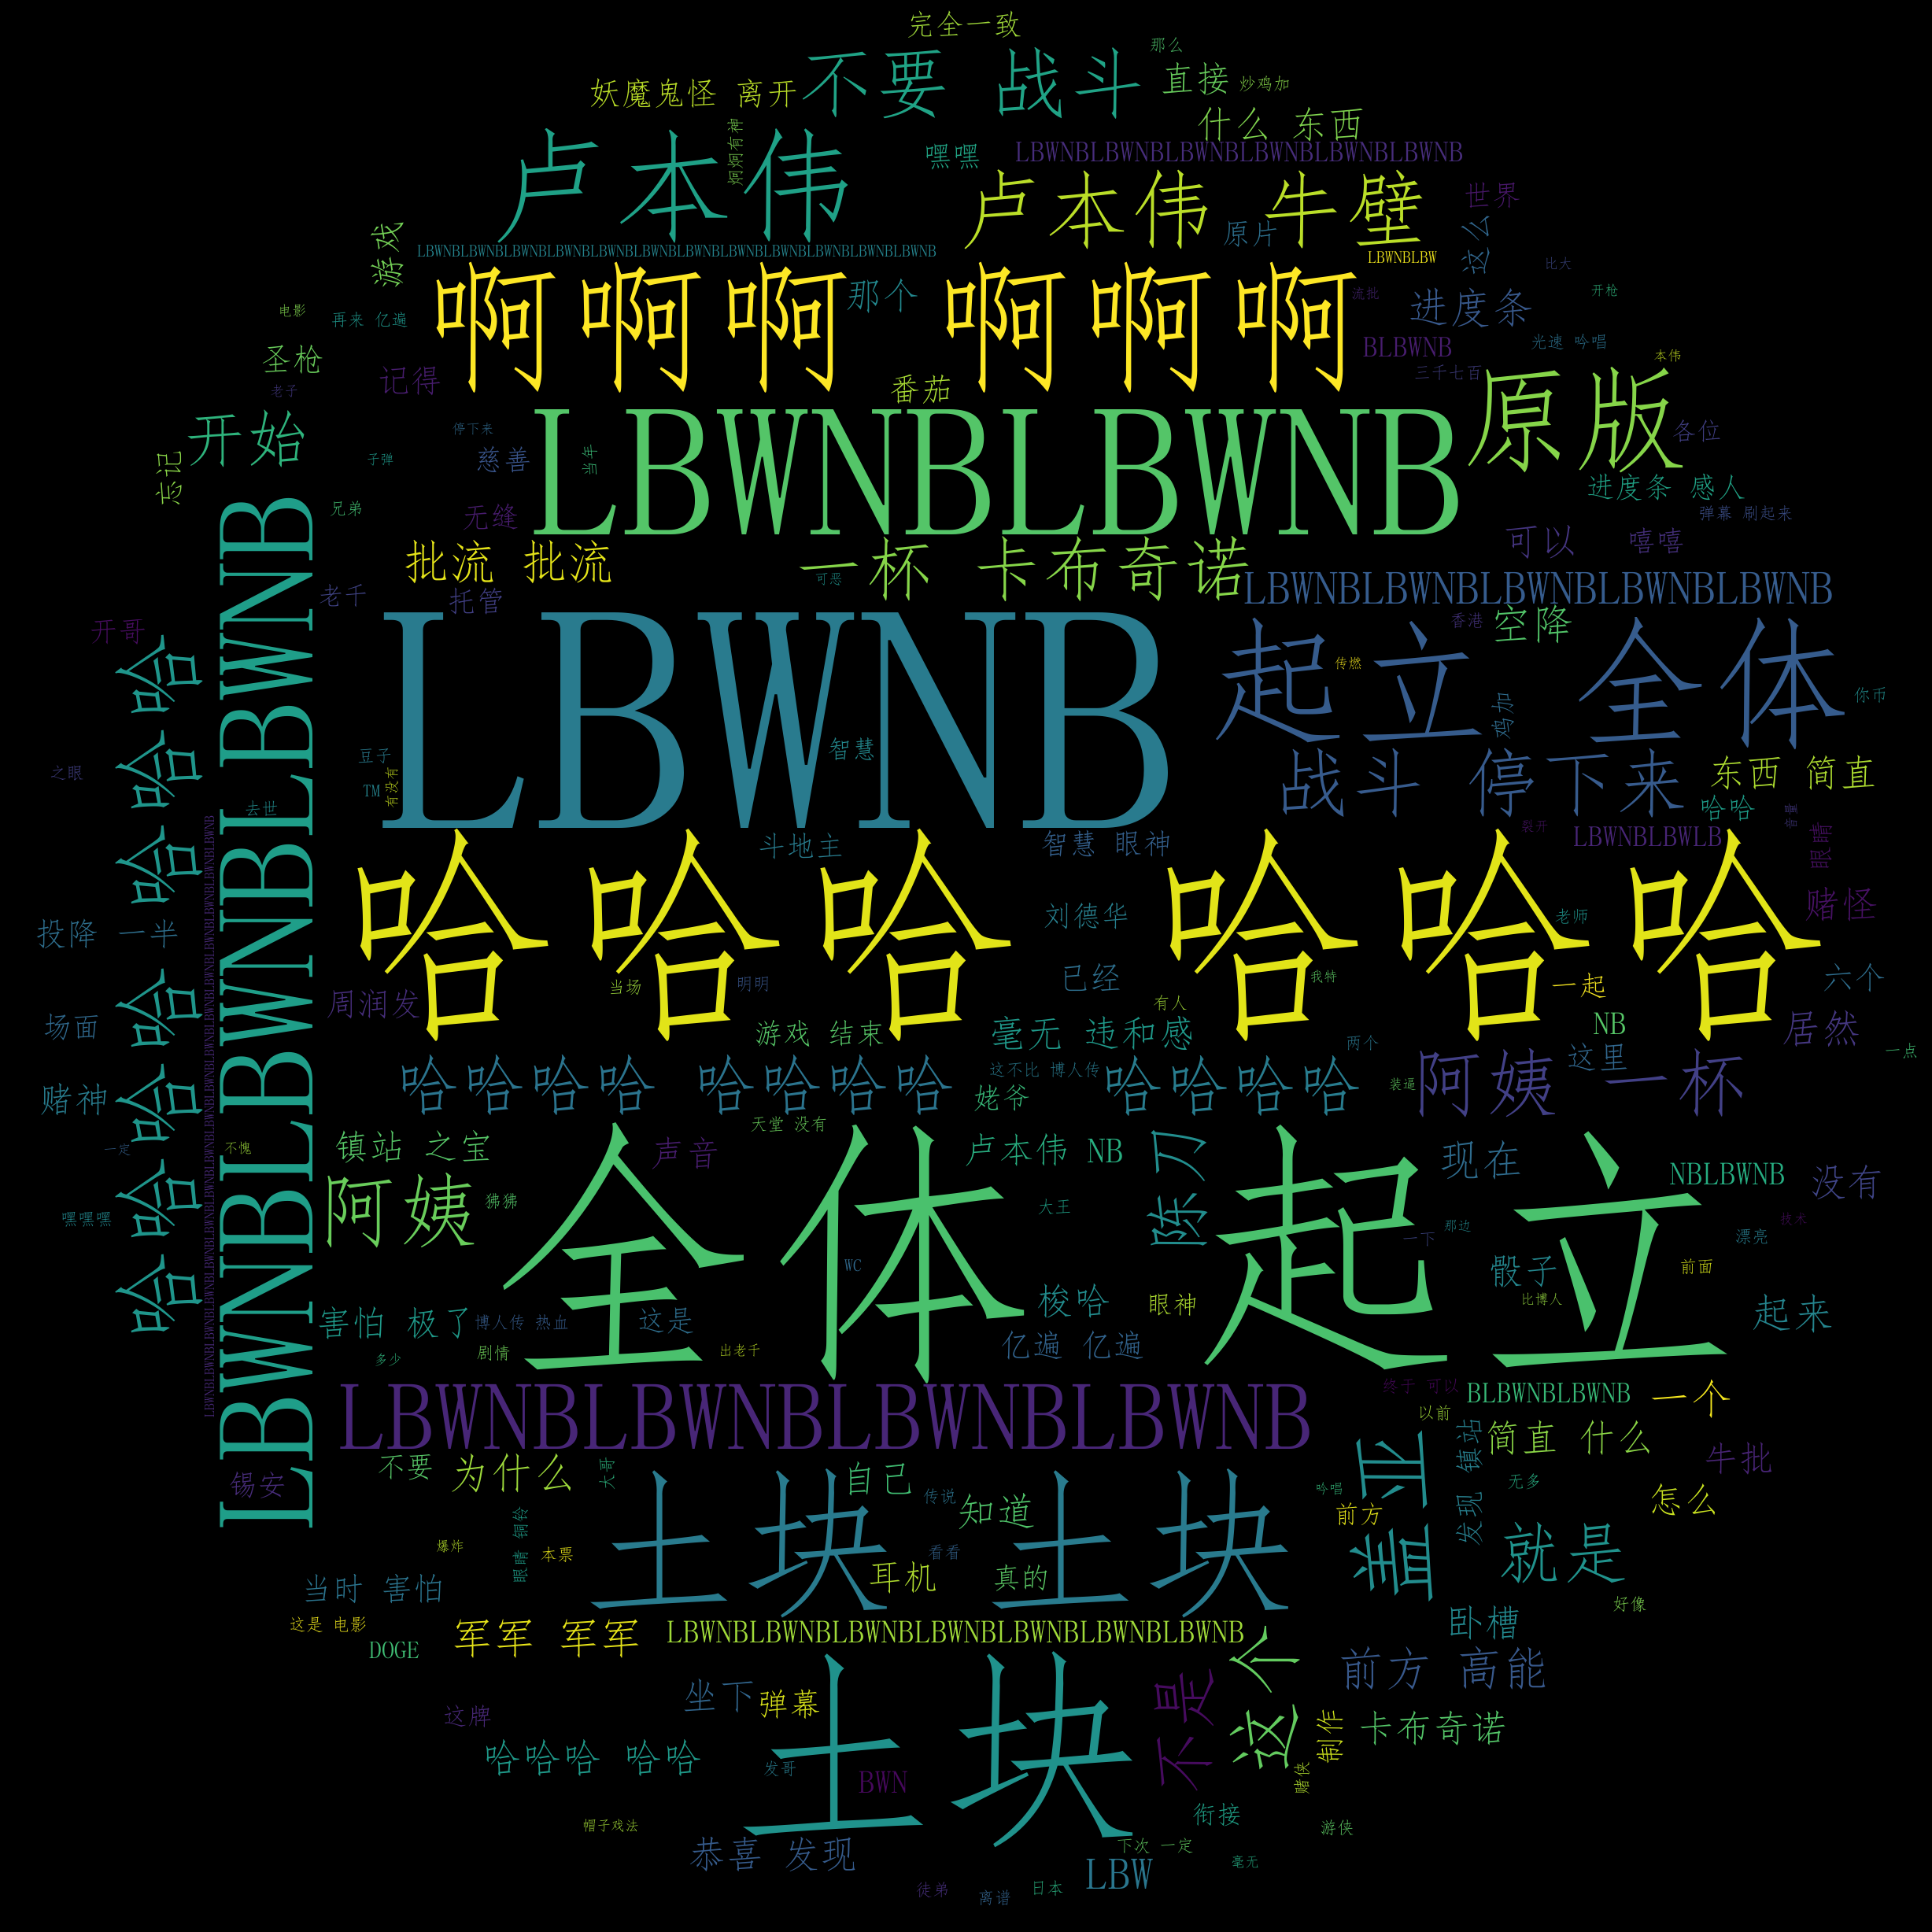
bilibili弹幕词云
工作原理
1.到B站获取cid
2.根据cid获取弹幕数据
3.用python获得数据
4.数据的清洗
5.生成词云
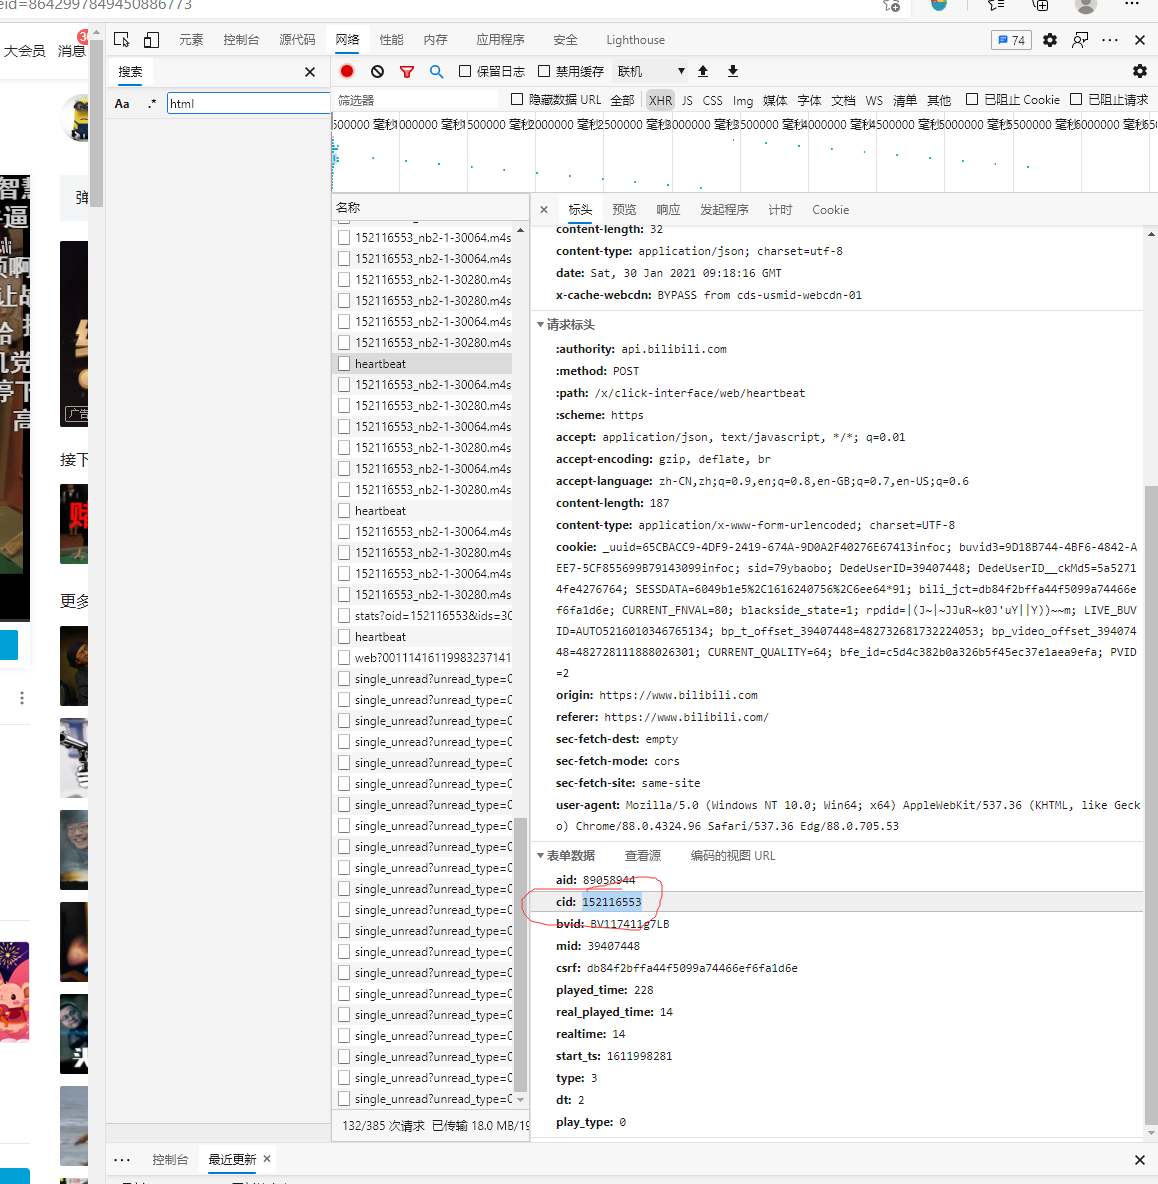
一、获取视频的cid
因为一个视频的弹幕是和加载时的heartbeat的XHR的脚本是有关的,获取它的cid名称就行了,浏览器F12打开检测器,点击网络,F5刷新一下就可以了。
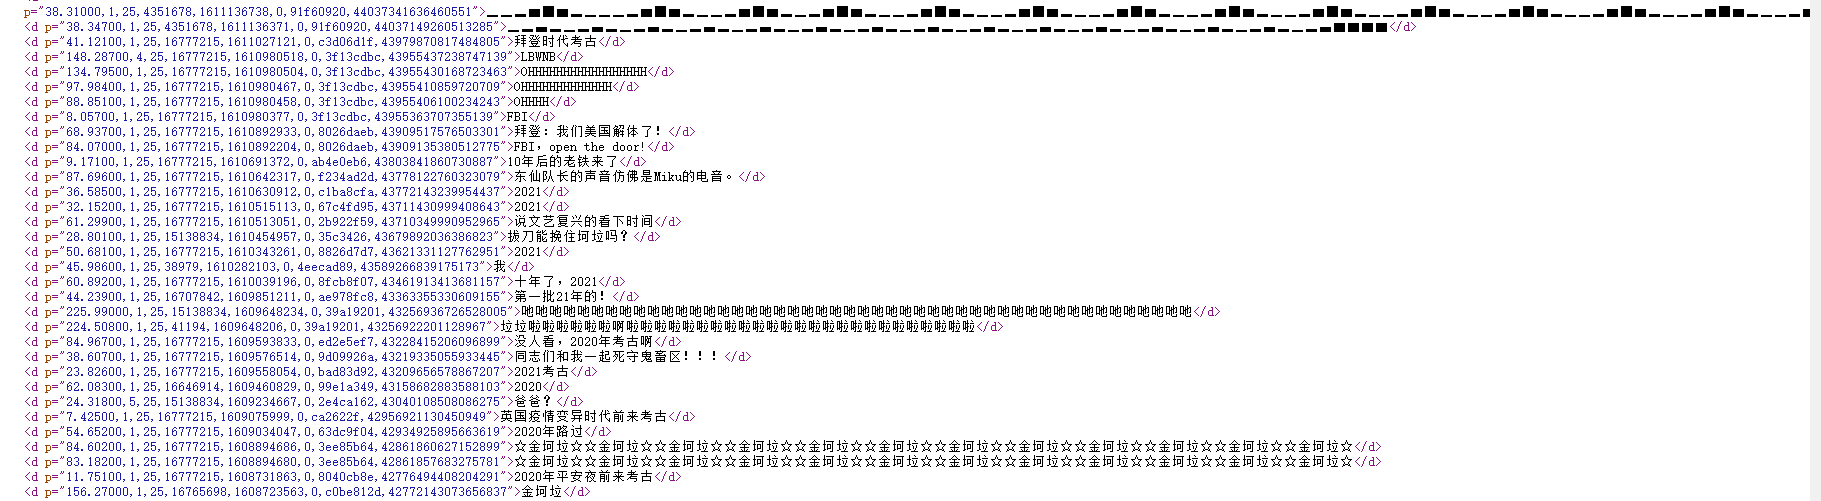
二、根据cid获取弹幕数据
如上图所示,目标视频的cid为 264124,目标数据位于:**https://comment.bilibili.com/视频的cid.xml**, https://comment.bilibili.com/264124.xml 这个页面就是我们cid的数据页面了。
三、用python获得数据
1.得到网页文本数据
import requests
from bs4 import BeautifulSoup

get_url = 'https://comment.bilibili.com/152116553.xml'
res = requests.get(get_url)
res.encoding = "utf-8"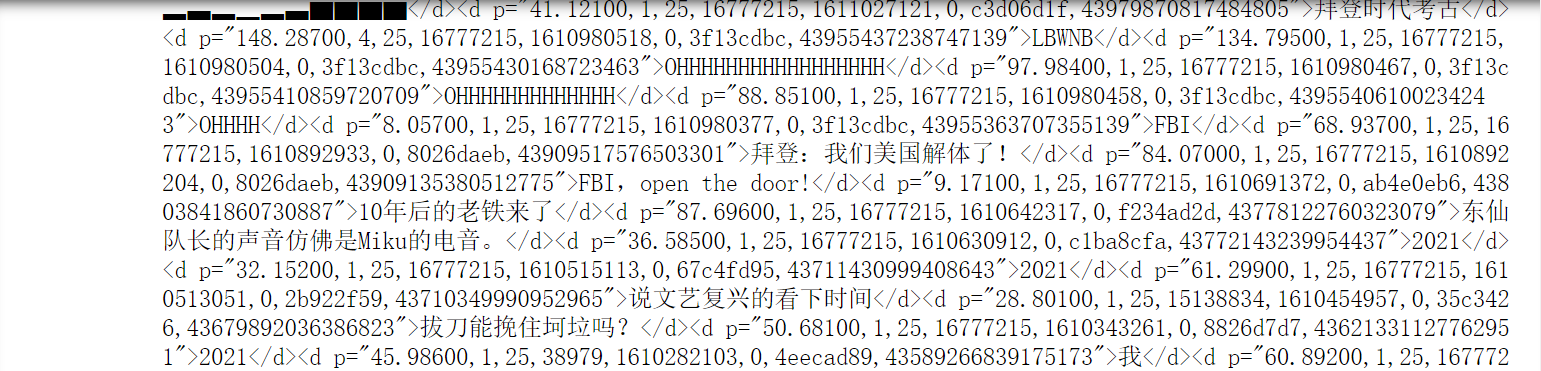
2.获得弹幕文本
# 可以很明显的发现每一行弹幕都处在网页d标签下
# 直接使用lxml解析
soup = BeautifulSoup(res.text, 'lxml')
total_d = soup.find_all('d')
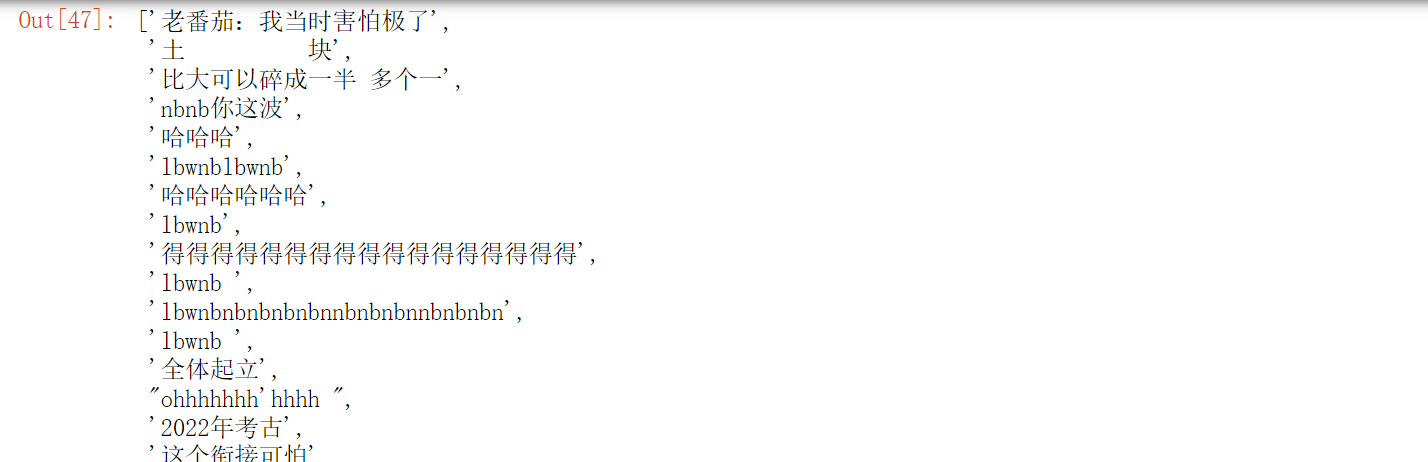
# 获取d标签的文本
comments = [conmment.text for conmment in total_d]
comments
四、数据的清洗
# 先把英文转换成大写
comments = [i.upper() for i in comments]

# 去掉空格
comments_clean = []
for comment in comments:
    comment = comment.replace(" ", "")
    comments_clean.append(comment)

comments_clean
# 查看一些各个词的频率
import pandas as pd
cipin = pd.DataFrame({'danmu':comments_clean})
cipin['danmu'].value_counts()# 使用jieba分词,并过滤单个字符
import jieba
total_str = "".join(comments_clean)
words = list(jieba.cut(total_str))
fnl_words = [word for word in words if len(word)>1]
fnl_words五、生成词云
from PIL import Image
import numpy as np
import wordcloud

# 这里我们把词云生成一个圆的形状
img = Image.open("yuan.png")
resized = np.array(img)

wc_1 = wordcloud.WordCloud(
    background_color='black',
    width=1000,
    height=800,
    mask=resized,
    font_path='simfang.ttf'
)

# 导入我们的词列表
wc_1.generate_from_text(' '.join(fnl_words))

plt.imshow(wc_1)

# 不显示坐标轴
plt.axis('off')
plt.figure()
plt.show()

# 储存为png图片
wc_1.to_file('wordcloud-res.png')